Sales Popup
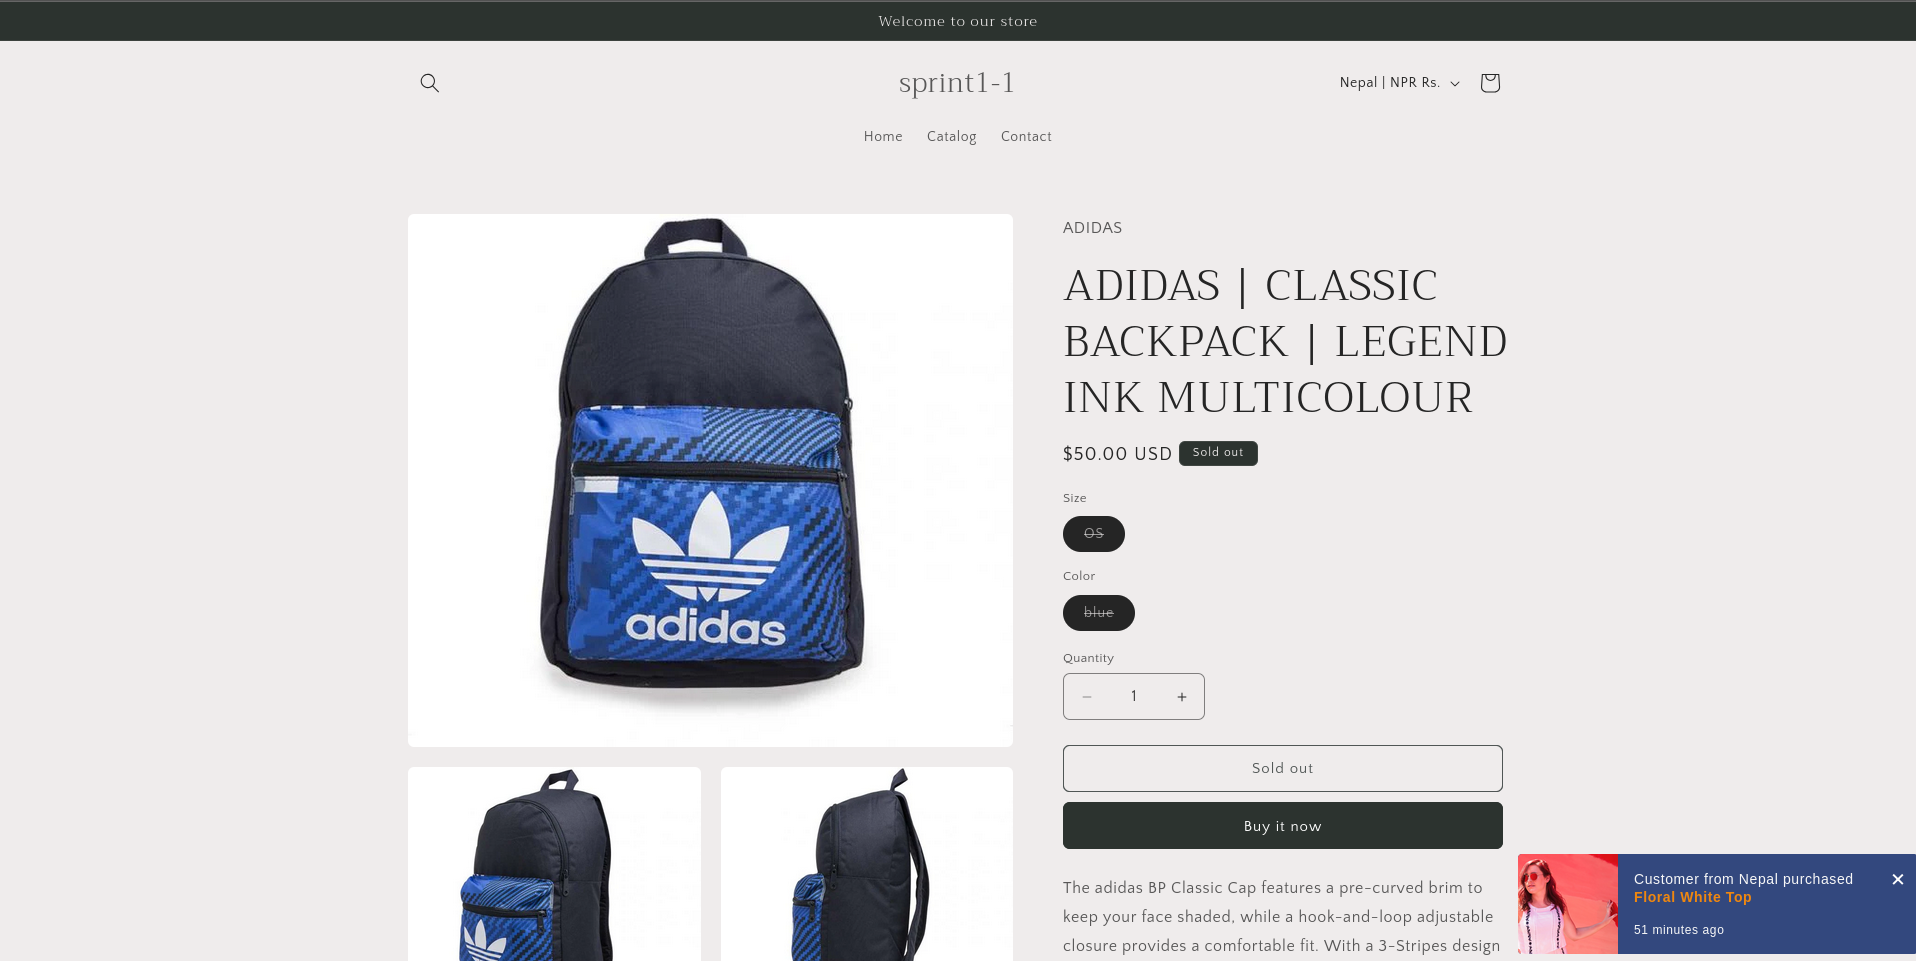
The Sales Popup feature helps build trust and urgency by showcasing recent sales activity on your storefront. It displays details like the customer’s name, product purchased, location, and purchase time, giving visitors social proof and encouraging conversions.
Step 1: Enable the Sales Popup Module
Navigate to the Sales Popup section in the app sidebar. If you see a callout card asking you to enable the module, click the Activate button. This will redirect you to the Theme Customization page with our app embed already selected. Simply click Save to enable it.
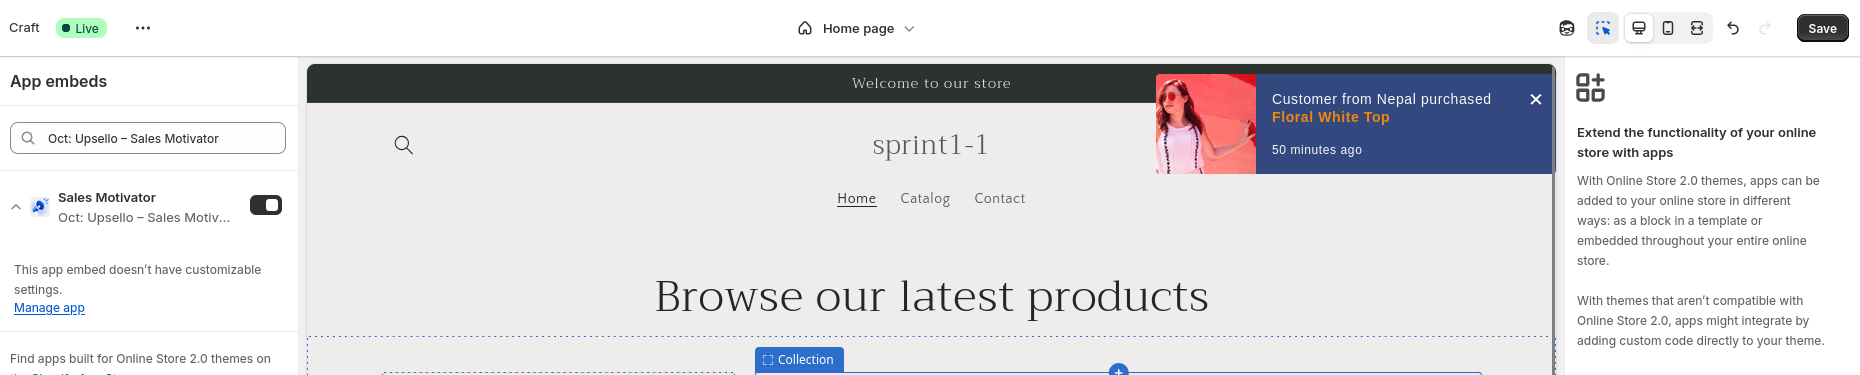
Step 2: Configure Your Sales Popup
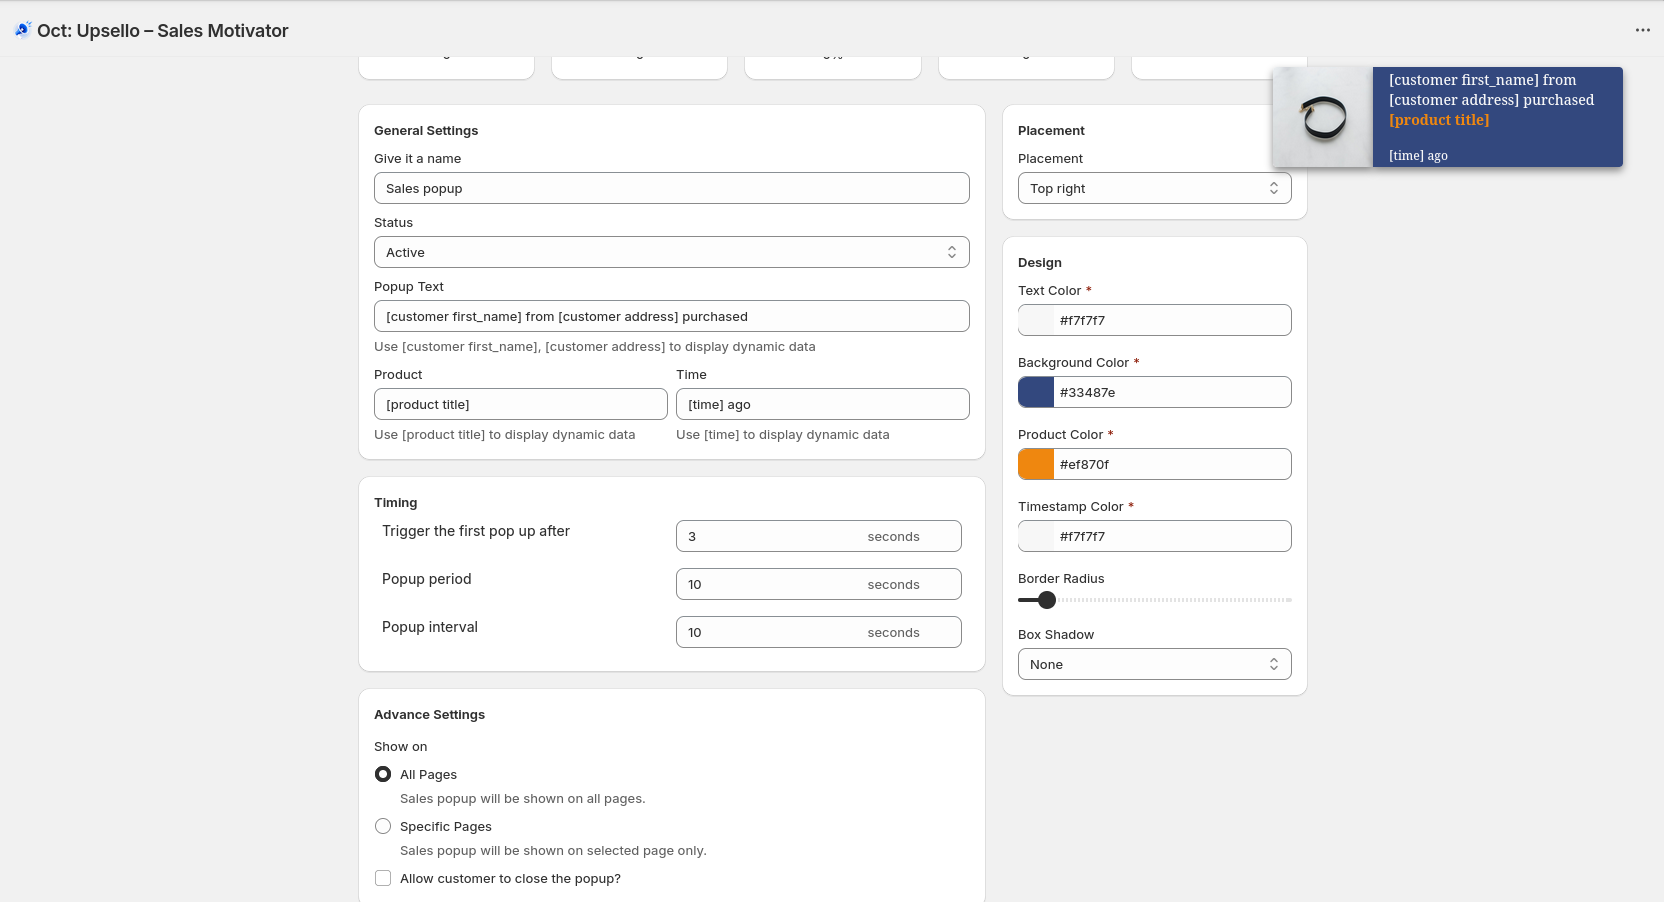
Return to the app to create and customize your popup.
- Give the popup a name and set its status (active/inactive).
- Write the popup text and use dynamic variables like
{customer_name},{product_name},{location}, and{time_ago}. - Choose the product(s) and define the purchase time to simulate.
Step 3: Set Placement
Choose where the popup should appear on the screen.
- Options include Bottom Right, Bottom Left, Top Right, and Top Left.
Step 4: Customize Design
Personalize the popup to match your store's branding.
- Customize border radius, text color, background color, product color, timestamp color, and box shadow.
Step 5: Timing Settings
Define when and how frequently the popup should appear.
- Set the initial delay, display duration, and interval for recurring popups.
Step 6: Advanced Settings
Control where and how customers interact with the popup.
- Choose whether to show the popup on all pages or specific pages.
- Allow or restrict customers from closing the popup until the display time has elapsed.
Live Preview
You can preview your popup design live within the app. There's no need to visit the storefront to see how it will appear.
This is how the sales popup will appear on the storefront.