Custom Pricing
Use Custom Pricing to set different product prices for specific customer groups. You can define fixed prices or discounts (by amount or percentage) based on login status, customer ID, or tags—providing a tailored shopping experience for B2B customers.
Step 1: Create and Target Your Rule
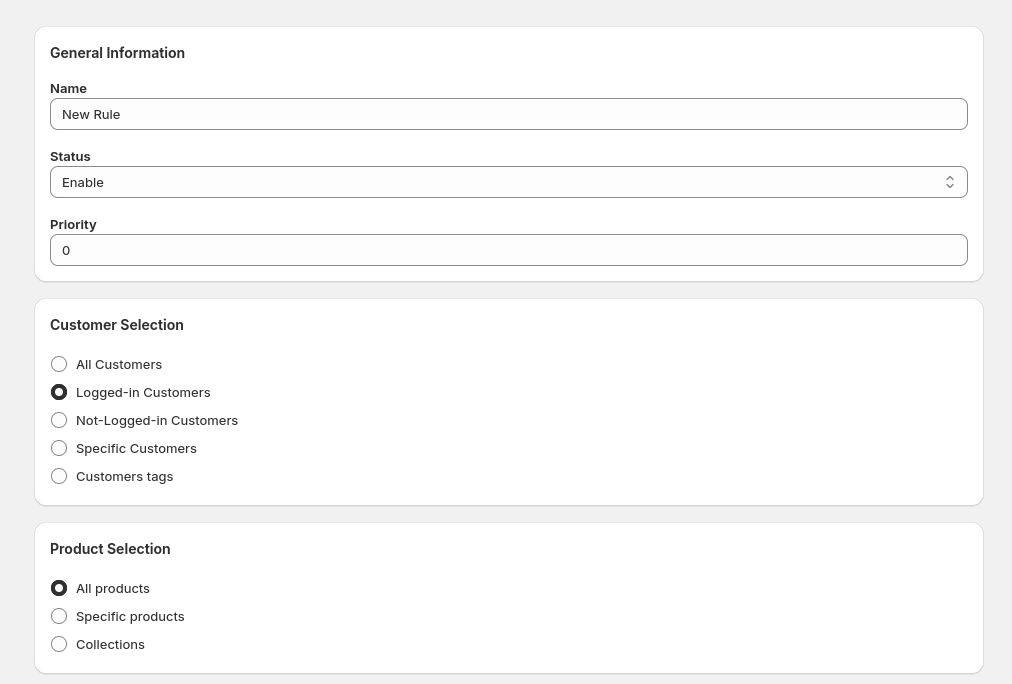
Start by navigating to the Custom Pricing section in the app sidebar and clicking on the Create New Rule button at the top right corner. Then configure general settings, choose the target customers, and select the applicable products.
- General Info: Enter a rule name, set the status (active/inactive), and define a priority (lower number = higher priority).
- Customer Selection: Choose which group of customers the pricing rule will apply to. Options include All Customers, Logged-in Customers, Not Logged-in Customers, or Specific Customers by ID or Tags.
- Product Selection: Select whether the rule applies to All Products, Specific Products, or specific Collections.
Step 2: Set Custom Price
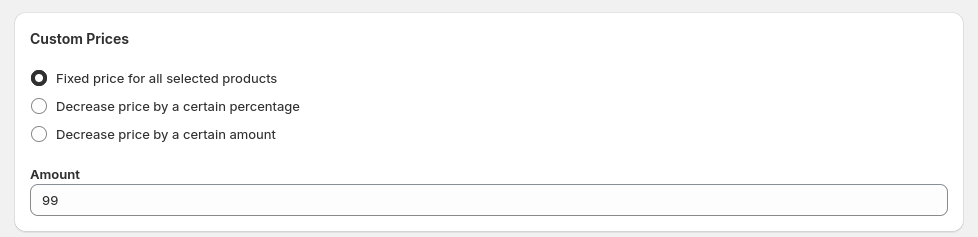
Define the type of pricing adjustment to apply.
- Choose between a Fixed Price or a price Decreased by a specific amount or percentage.
Step 3: Set Rule Duration
Define the time period for which the pricing rule should be active.
- Specify the start date and end date for the rule to automatically enable and disable based on your sales cycle or campaign.
Step 4: Test on Storefront
Before testing the custom prices on your storefront, ensure the feature is properly enabled.
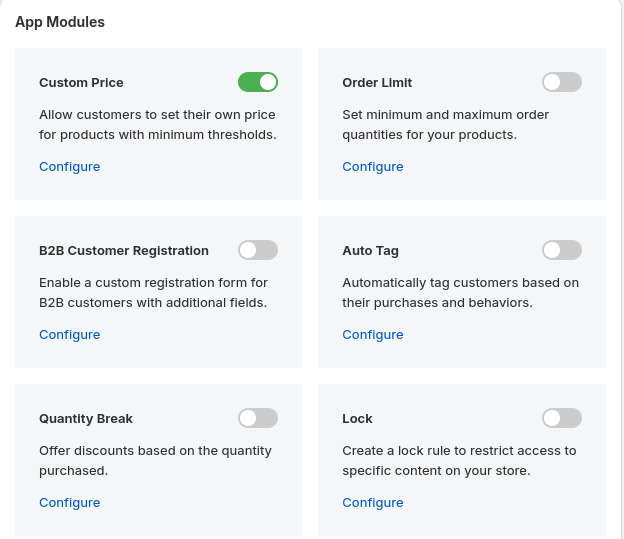
- Go to the App Modules section in the dashboard and enable Custom Price.
- Verify that the app embed is correctly installed and running. You can check this in the Theme App Extension Configuration section of your dashboard.
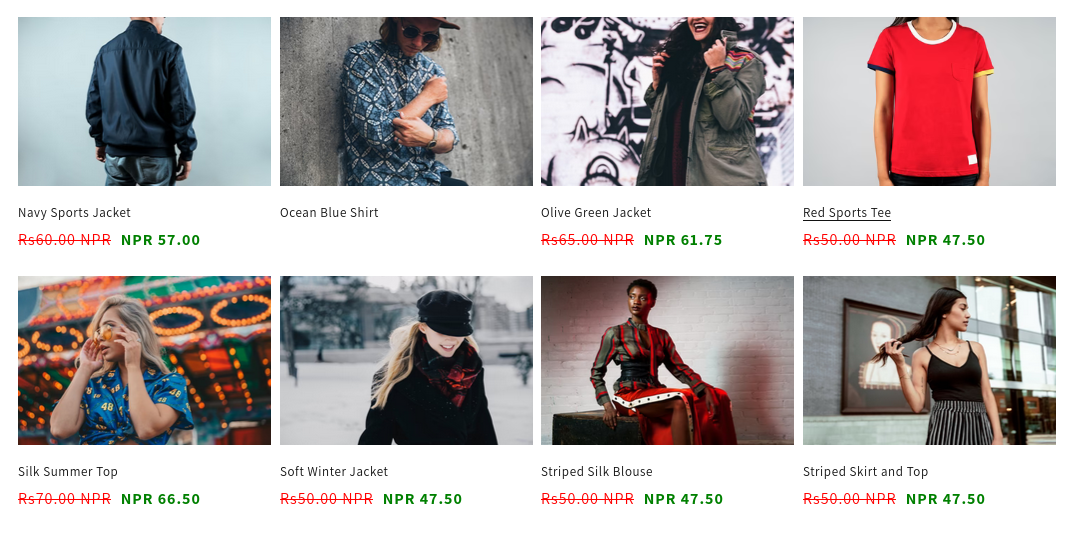
- Now, open your storefront and you should see the custom prices applied as per the rule configuration.