Setting Up the Rule
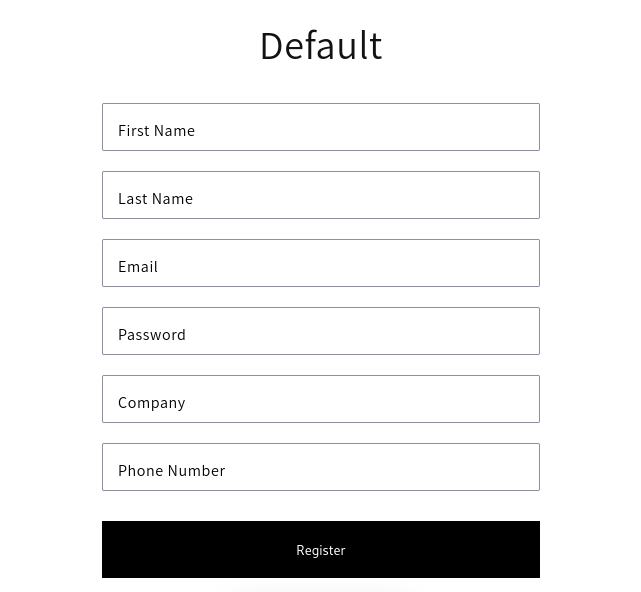
Follow this step-by-step guide to publish and display a wholesale registration form on your storefront. The form below showcases how it will appear to your customers, enabling a seamless and professional B2B onboarding experience.
Step 1: Enable Registration Form
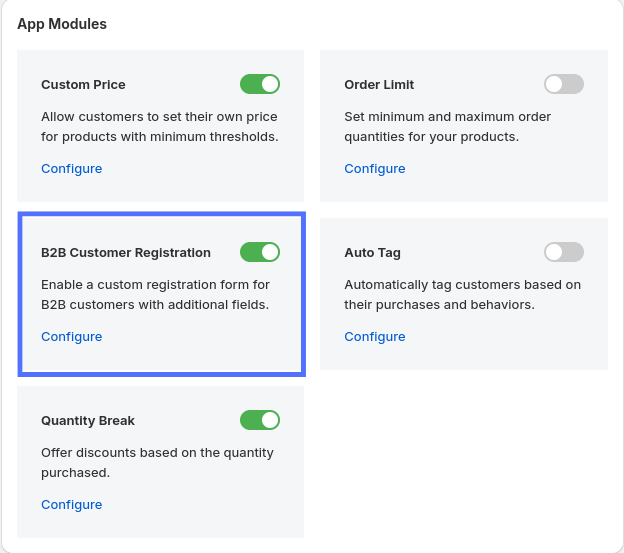
To begin, make sure the registration form feature is enabled from your app dashboard.
- Go to the App Modules section in your B2B app dashboard.
- Toggle the switch to enable the form on your storefront.
Step 2: Create New Rule
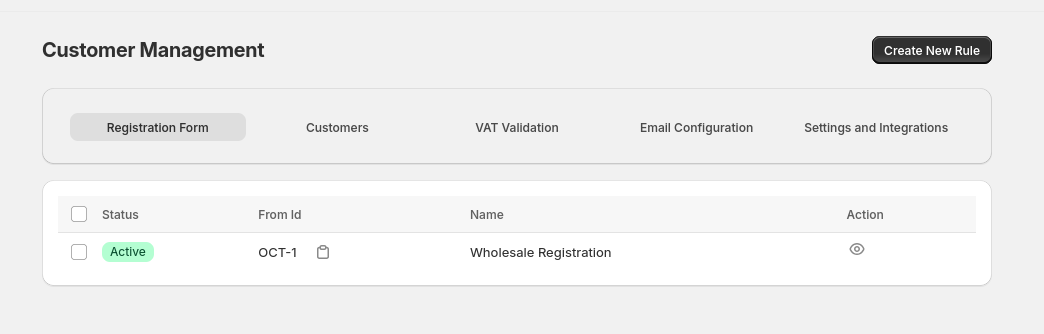
- Click on the Customer Management sidebar option and click on Create New Rule button.
- Use the given form fields or create your own field to build up a registration form.
- Click on the Advance Setting tab to manage approval workflow, email notification, tags, span protection and tax exempt.
- First choose Registration Approval flow. Set it to manual if you want to manually approve customer account and set it to automatic if you wish to automatically approve customer accounts.
- Then decide whether you want to enable Email Notification.
- You can set some tags to the customer registered from this form by adding the tags here.
- Enable reCAPTCHA for Spam Protection
- After successfully saving the form, you will be redirect to the listing page where you can copy the id of the form you just created.(This will be later used to display the correct form).